PrestaShop is an open-source ecommerce platform designed to help individuals and small-to-medium businesses build and manage their online stores. It provides a comprehensive solution for creating a beautiful, functional and user-friendly website, complete with a wide range of features and tools to help you sell products and services online.
Online shoppers today expect a seamless and personalised experience when browsing a website, and if they don’t receive it, they are likely to move on to the next option. To solve this problem, forms can play a crucial role in increasing engagement and interaction with customers.
By using forms on your PrestaShop website, you can easily gather important information from your customers, such as their contact details, preferences, and feedback. This information can then be used to personalise their shopping experience, providing them with relevant recommendations, offers, and promotions.
But don’t just settle for any live chat when you can have the best.
Why you should use Serviceform Live chat for the PrestaShop website
- Provide fast and efficient customer service through real-time live chat.
- Support multiple teams and structure of agents, and manage all chats from different websites with a single parent account.
- Track team performance with important metrics like total chats, missed chats, average wait time, and average reviews.
- Monitor your customer journey on your website and assign conversations to individual agents or teams using filter tags.
- Allow customers to easily upload files during live chat conversations.
- Integrate live chat with your shopping cart for seamless customer support during the checkout process.
- Get inspired with a library of over 500+ tested and proven templates, available for you to use for free.
Creating a PrestaShop live chat with Serviceform is simple and easy. Let's take a look at how to build a smart live chat for your PrestaShop site using Serviceform's builder.
Step 1. Create your Serviceform pixel
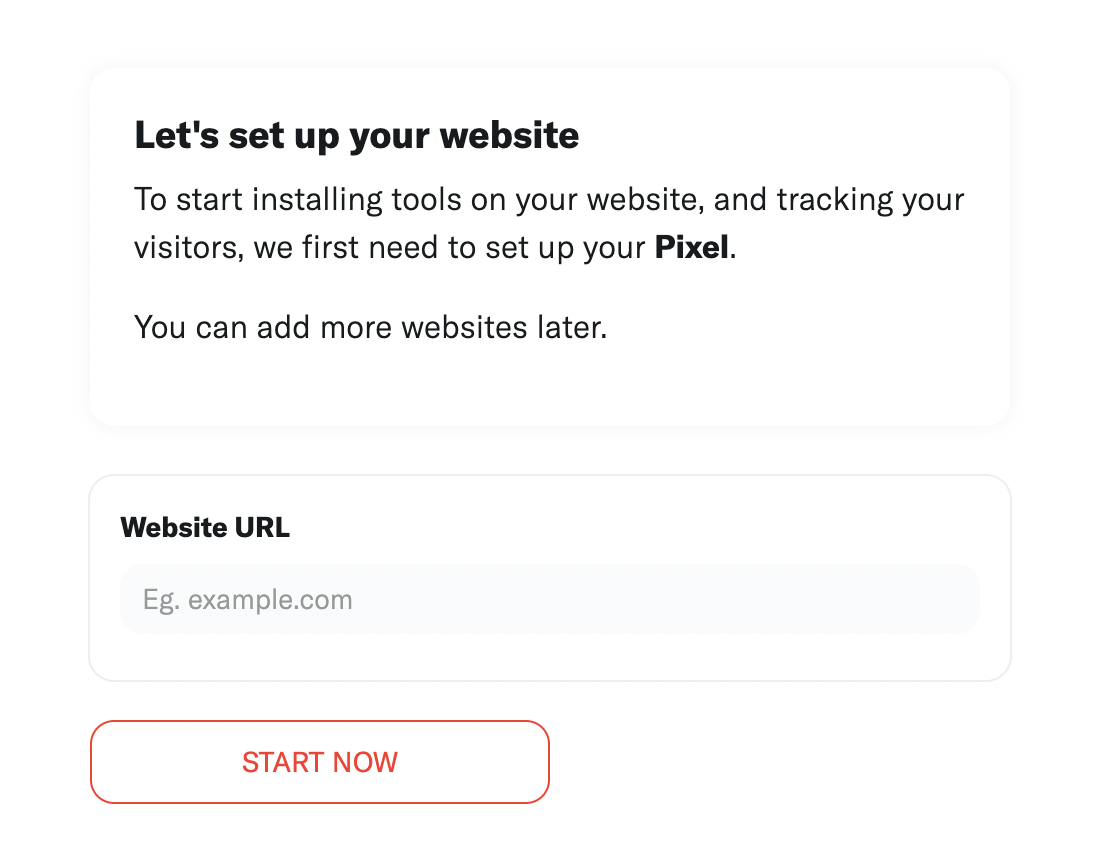
After you create your Serviceform account, you can generate your Serviceform pixel in the box below. To start, type your website URL and select "START NOW".
Step 2. How to install a free live chat on PrestaShop
Using HTML
If you're a tech-savvy person or have a developer in your team, it's easy to add a Serviceform Live chat to your PrestaShop website using HTML.
To start, click on the website you’ve set up on your Serviceform account and select settings.
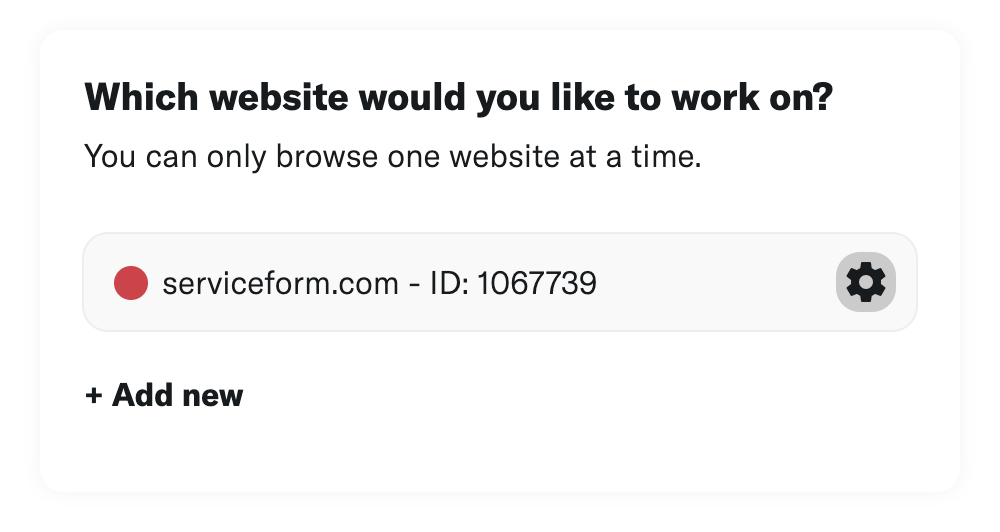
Then, copy the pixel code.

Log in to your PrestaShop website's admin panel. Once you're in the project, head to the menu by clicking on the PrestaShop logo in the left corner. Then, navigate to the "Project Settings" and select "Custom Code”.
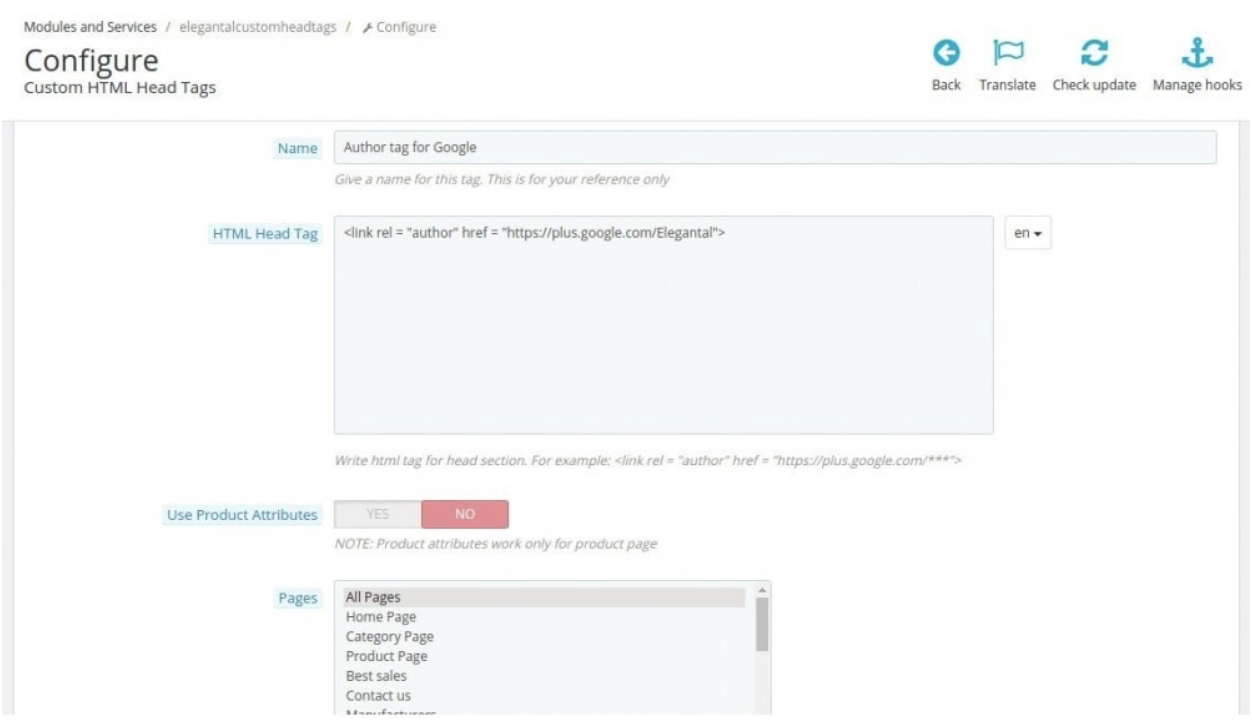
Simply paste the embed code that you’ve copied in the “Head Code” section and hit "Save Changes”.
Voila! Your PrestaShop website just got a lot cooler with Serviceform’s Live chat.
Using Google Tag Manager
No worries if HTML isn't your thing. Installing the Serviceform pixel into your PrestaShop website using Google Tag Manager is easy.
Simply choose the option to install via Google Tag Manager in your Serviceform account, then copy your unique pixel code.
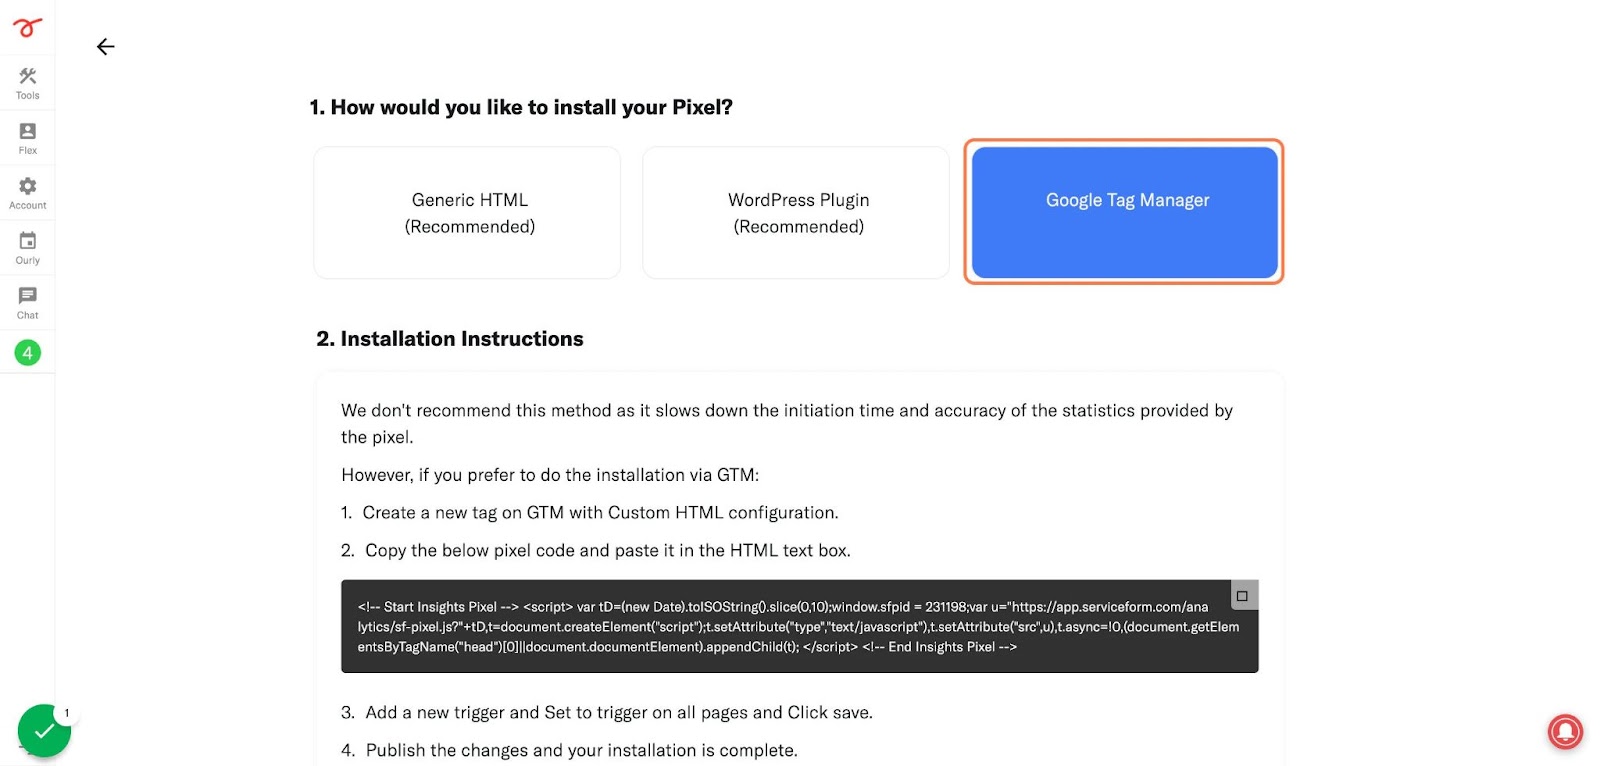
Next, head over to your Google Tag Manager account and create a new tag. Then name your tag.
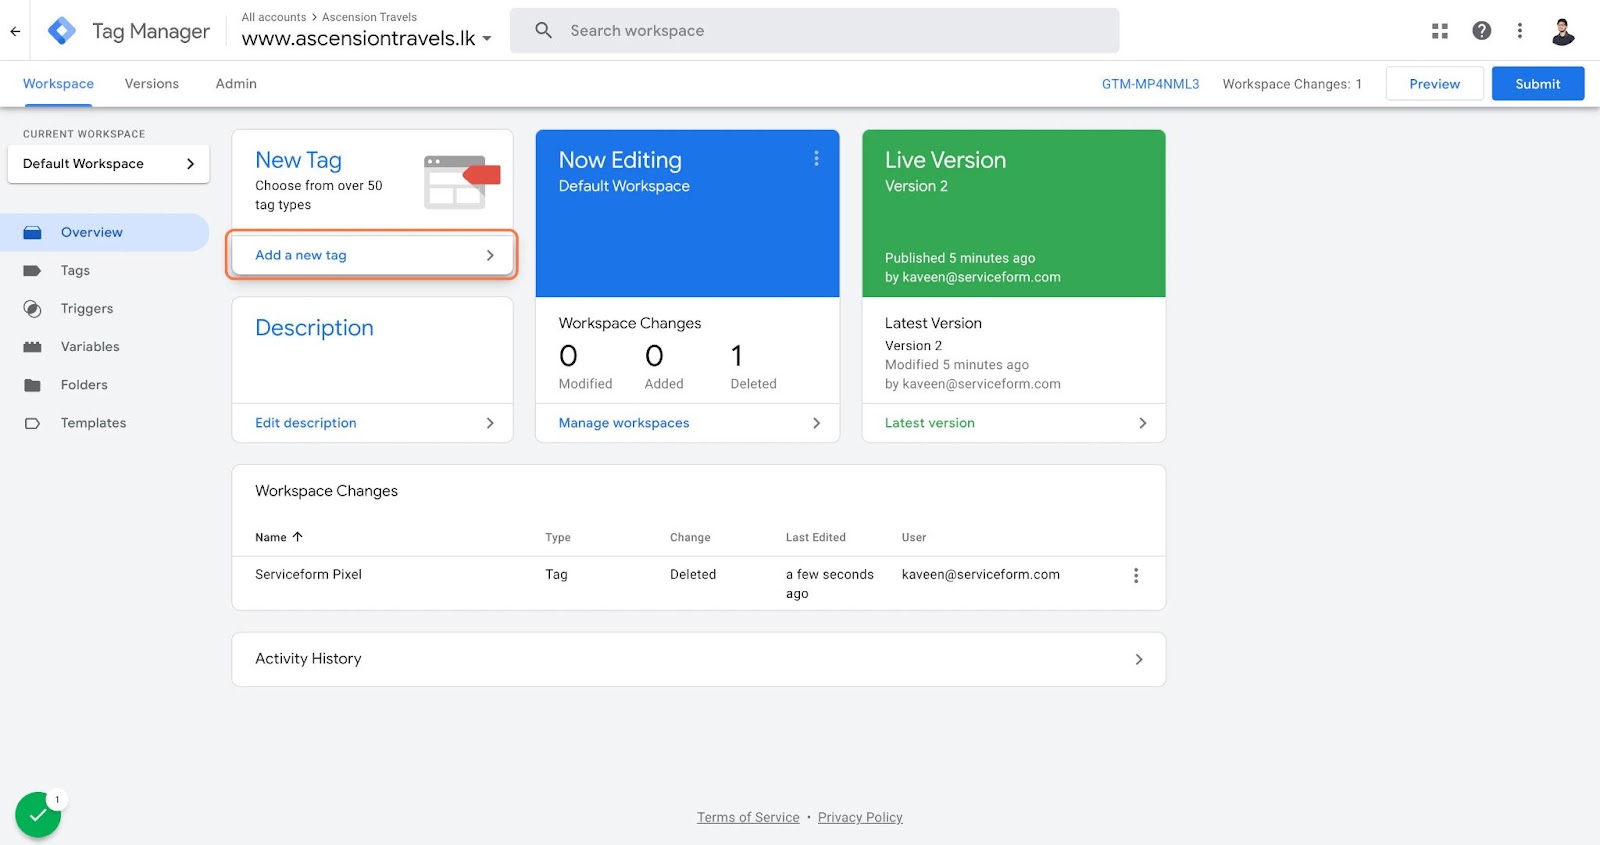
Once you've named your tag, head to the tag configuration and choose custom HTML from the drop-down menu. Then, simply paste the Serviceform pixel code you copied earlier into the code area.
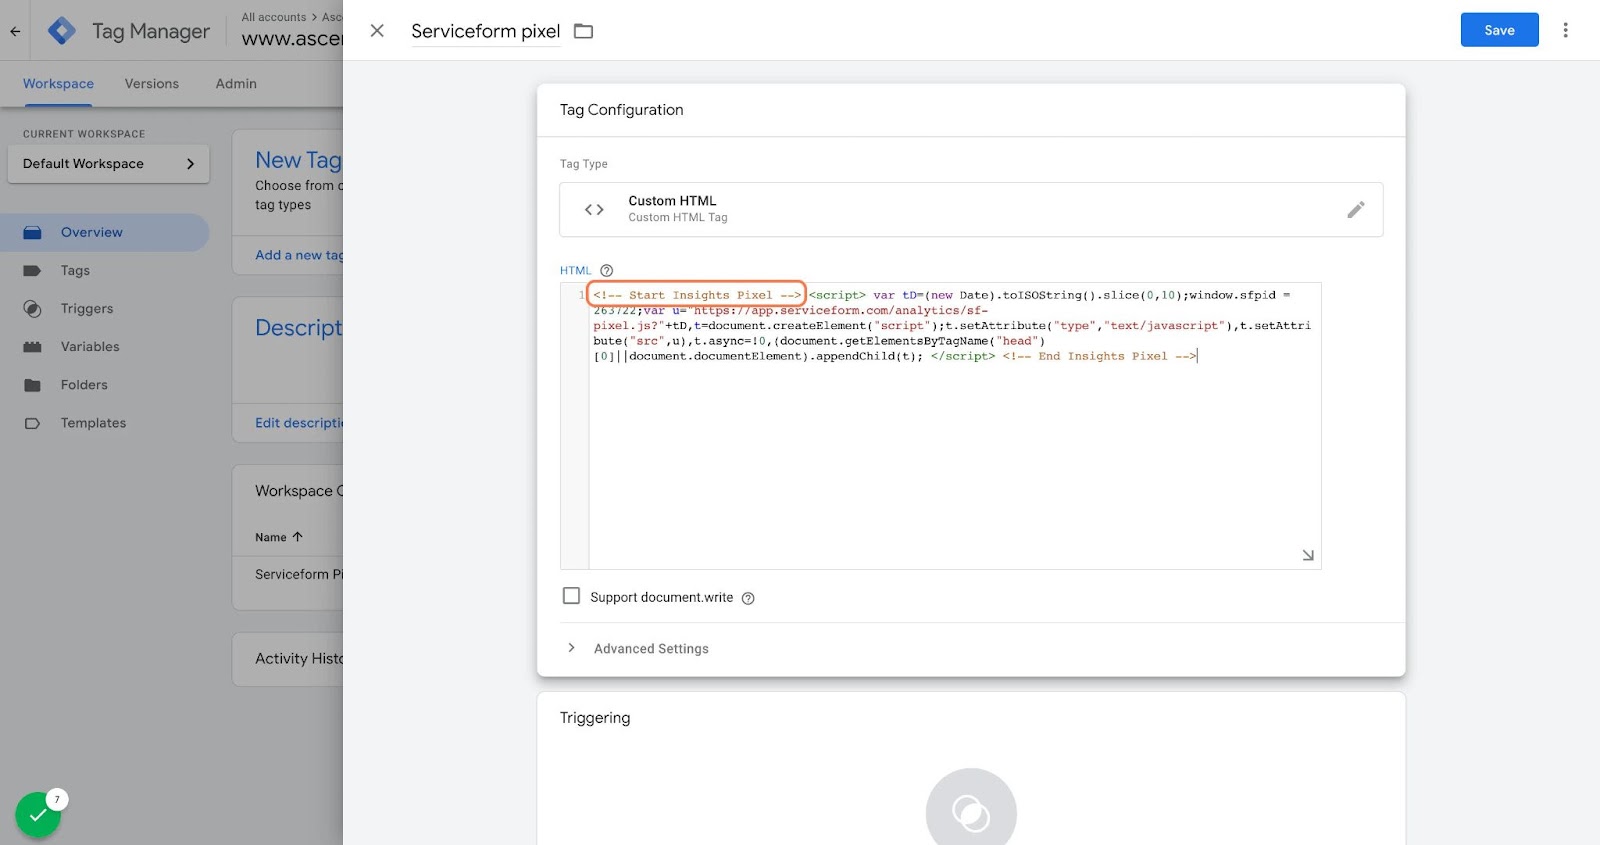
Then click on ‘triggering’ and select ‘all pages.’ Then save your work and press submit. In the submission configuration screen, type ‘Adding Serviceform pixel’ into the ‘Version name’ area, and you’re all set.
Step 3. Test if your Serviceform pixel is live
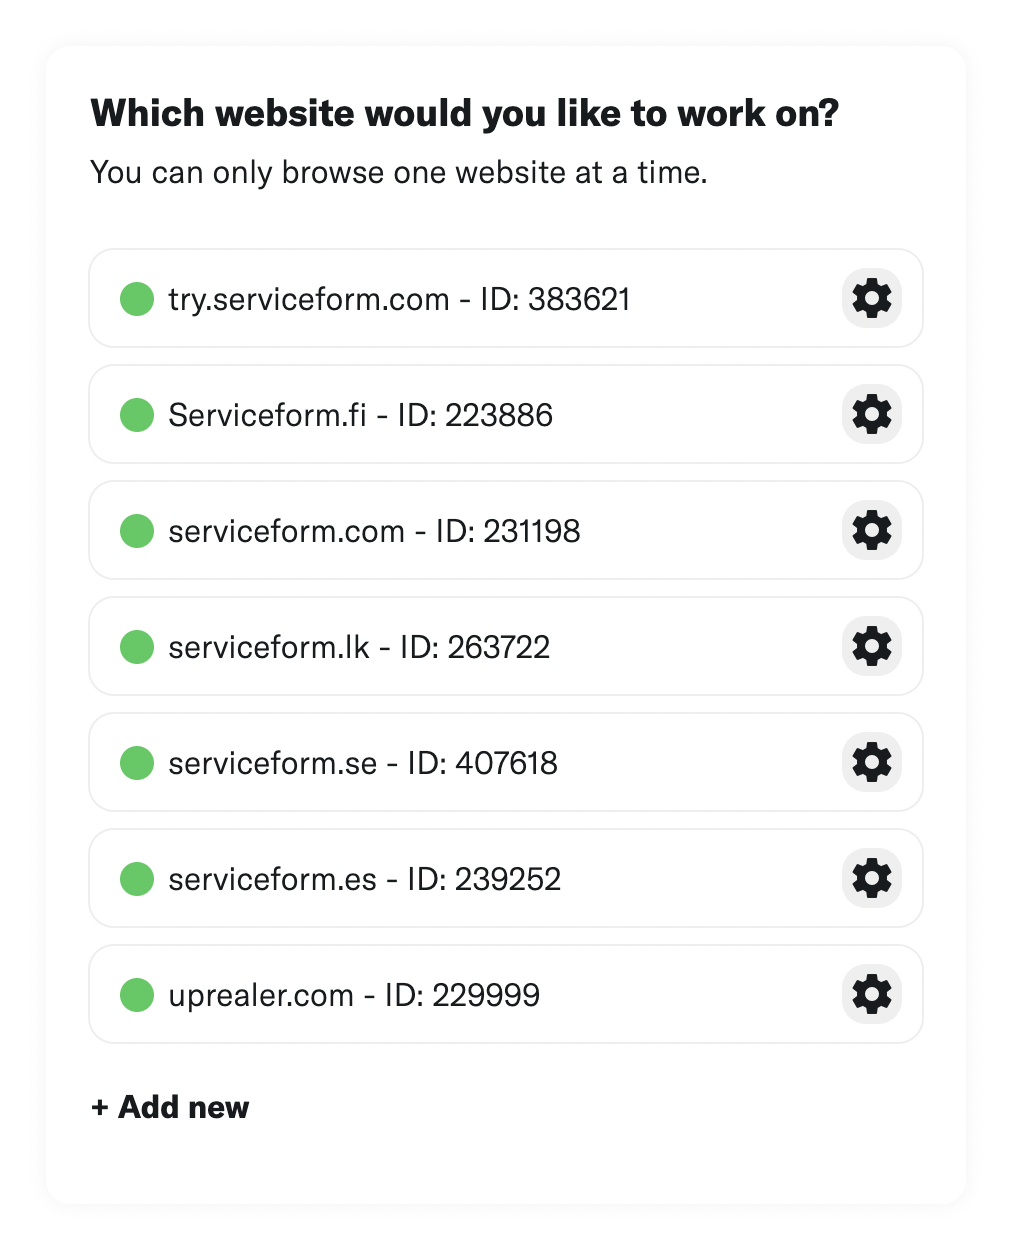
You can check if your pixel is active by looking at the top right corner of your dashboard.
If you see a green circle, that means it's active and ready to go. But if you see a red circle, it means it's not active yet. No worries, just give it a quick check and get it up and running in no time.


.png)


.png)


