Jimdo is an all-in-one small business solution. Jimdo is a SaaS company that provides solutions such as websites, online stores, bookings, logos, SEO, analytics, domains, and hosting.
If you’ve used Jimdo to build your website, you need to find a place to display important announcements about your brand without disrupting the design or the flow of your site. A floating bar is the perfect solution for this problem.
A Floating bar can be placed at the very top or the bottom of your website depending on your preference. It’s a very simple but effective tool that can display a message with a CTA or lead collection fields.
But you’ll be able to find many other floating bars in the market. Why use Serviceform?
- You don’t need any coding knowledge to build a Serviceform Floating bar.
- Easily customise and personalise Serviceform Floating bars to fit your brand.
- Serviceform tools come with built-in real time website and tool analytics at zero additional costs.
- Access to a growing library of 500+ free templates that has been proven and tested for you to draw inspiration from.
- Serviceform Floating bars have resulted in very high engagement rates on our customer websites.
Get started by creating your free Serviceform account!
Step 1. Create your Serviceform account
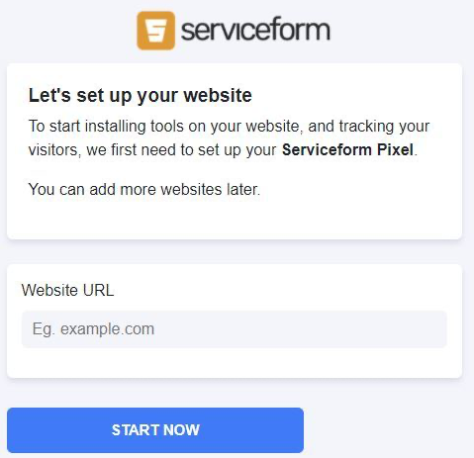
After you create your Serviceform account you can create your Serviceform pixel in the box below, to start, type your website URL and select "START NOW".
Step 2. How to install free Floating bars on Jimdo
Using HTML
If you’re a developer, or you can get the help of a developer, you can easily install a Serviceform Floating bar on Jimdo using HTML.
To use HTML, you need access to your website code and place the pixel code on the <head> tag. Once you have accessed the <head> tag, place the Serviceform pixel code into your <head> tag.
You can find the pixel code from your Serviceform account.
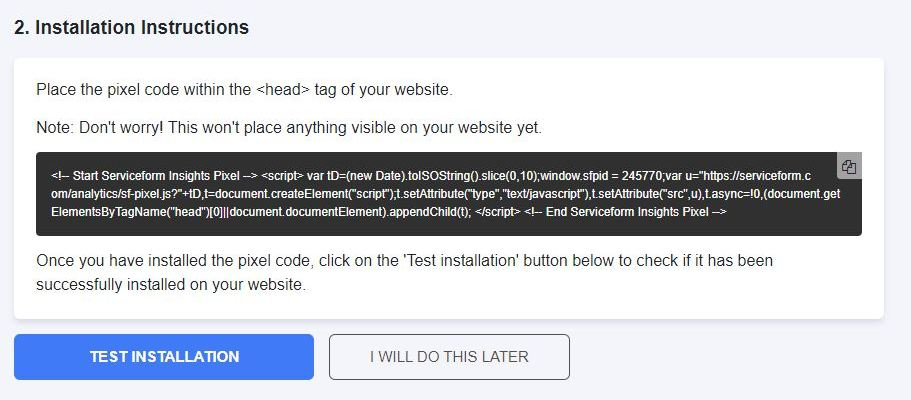
You can place your own code into the <head> tag from the ‘edit head’ section of your Jimdo Creator website. You’ll find this section under Menu > Settings > Edit Head.
Using Google Tag Manager
If you don’t feel very comfortable with HTML or any other type of code, you can easily install the Serviceform pixel on your Jimdo website using Google Tag Manager.
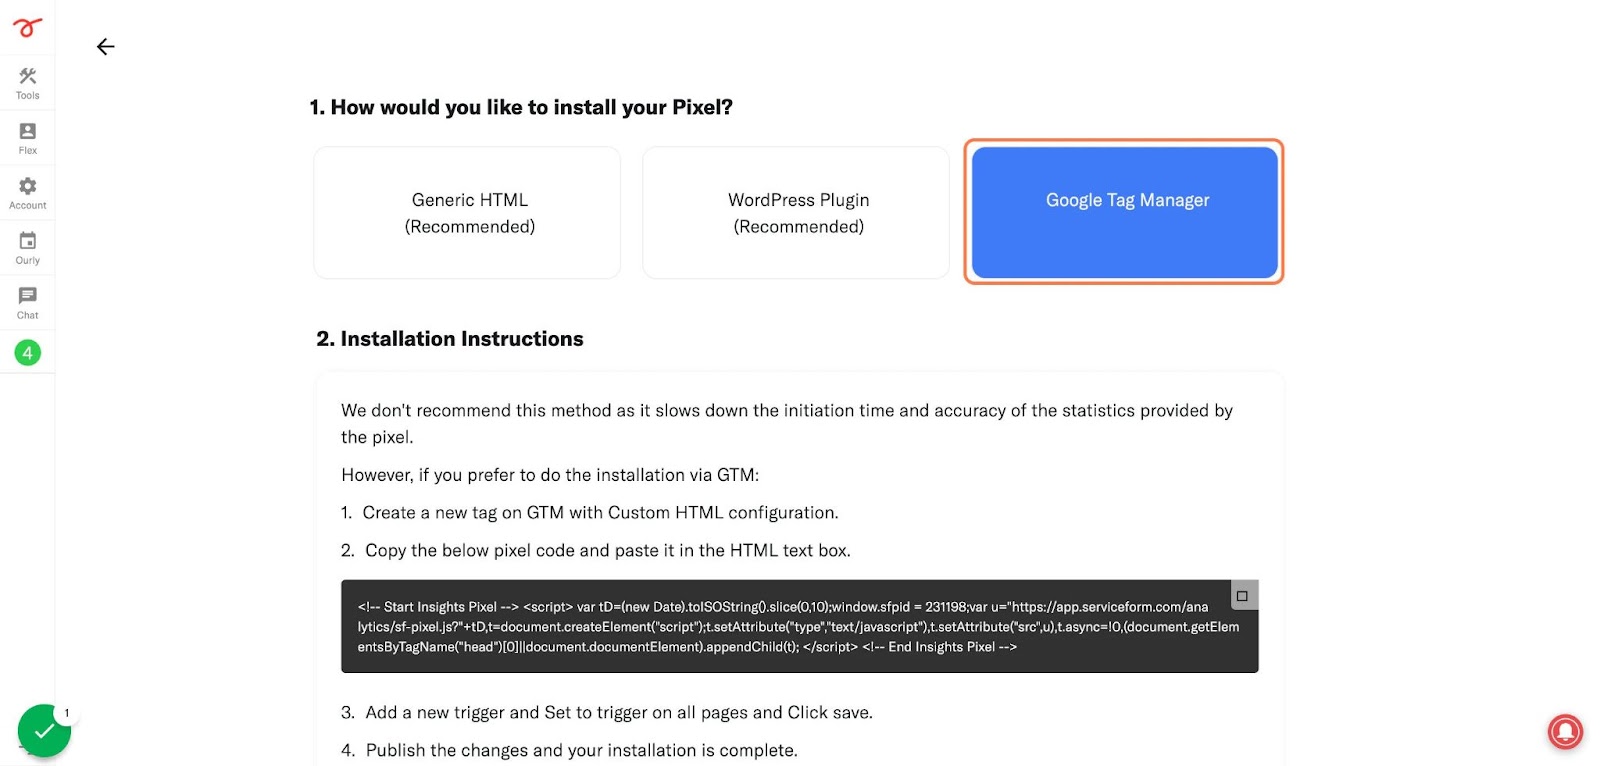
In your Serviceform, select the option to install the Serviceform pixel through Google Tag Manager. Then copy your pixel code.
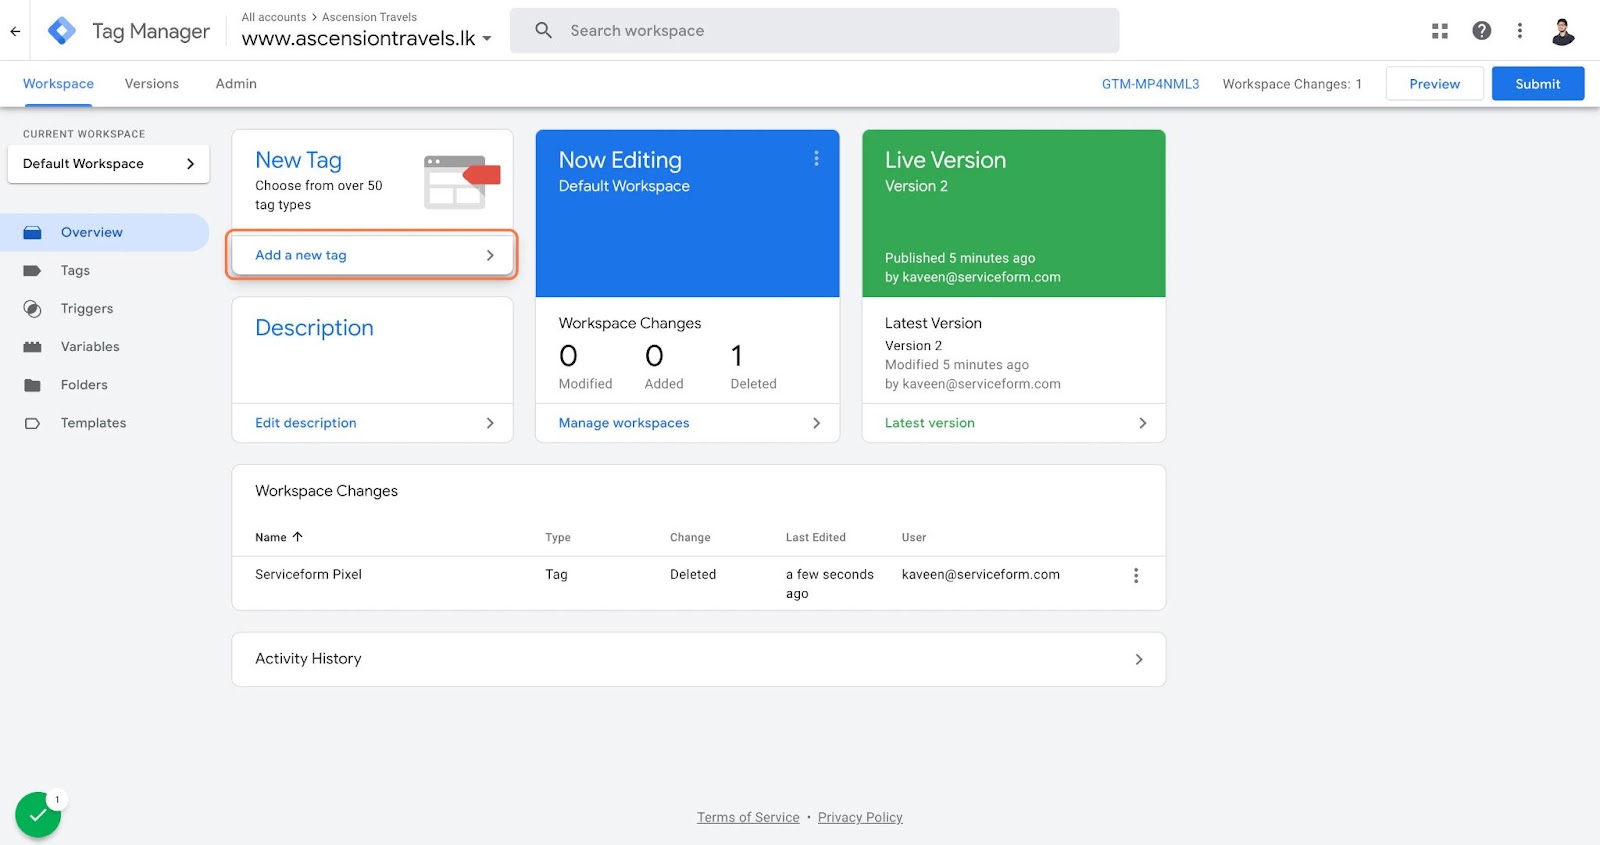
Afterwards, go to your Google Tag Manager account and click on add a new tag. Then name your tag.
Once you’ve named your tag, click on tag configuration. Then go down the drop down and select custom HTML. Paste the Serviceform pixel that you copied previously into the code area.
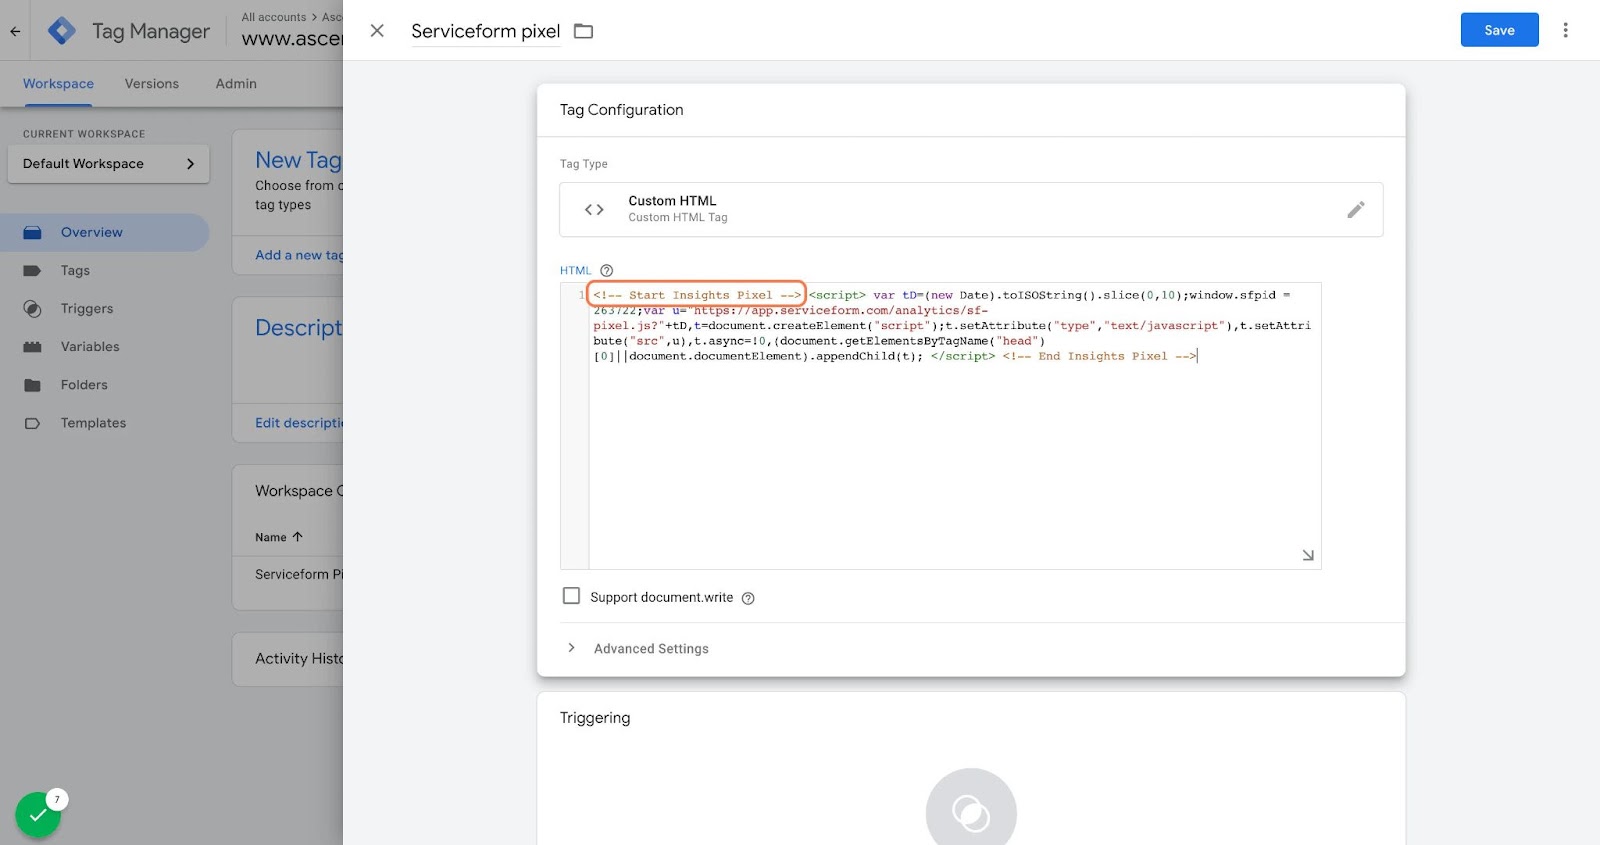
Then click on ‘triggering’ and select ‘all pages.’ Then save your work and press submit. In the submission configuration screen, type ‘Adding Serviceform pixel’ into the ‘Version name’ area.
Congratulations! You can now successfully install Serviceform Floating bars on your Jimdo website.
Step 3. Test if your Serviceform pixel is live
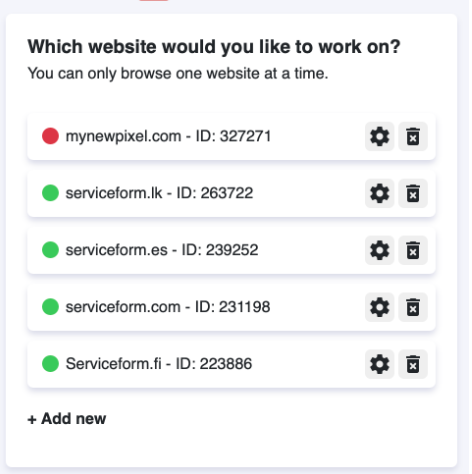
You can check if your pixel is active by looking at the top right corner of your Serviceform dashboard. The green circle indicates that it's active, and the red circle below indicates that the pixel isn't active.


.png)


.png)


