Everybody knows WordPress. It's the most commonly used content management system (CMS) in the world.
Once you build your company website through WordPress, you need a tool that can reduce the bounce rate and ramp up engagement on your website. We present to you the Serviceform Smart popup.
A Smart popup can be designed in a way that it pops up only if a certain action is performed. For example, an Exit-intent popup. An Exit-intent popup will only popup when your web visitor moves their cursor away from your page to leave the site.
With popups, you can increase the engagement rate of your website while generating a number of handy new leads for your business.
But there are heaps of other popup companies on the market. Why use Serviceform?
- You don’t need any coding knowledge to build a Serviceform Popup.
- Easily customise and personalise Serviceform Popups to fit your brand.
- Serviceform tools come with built-in real time website and tool analytics at zero additional costs.
- Access to a growing library of 500+ free templates that has been proven and tested for you to draw inspiration from.
- Serviceform Popups have resulted in very high engagement rates on our customer websites.

You are about to make your WordPress website even better with the best Floating bar.
But why just stop there?
It's now time to think outside the box and see how you can make the most of your Floating bar and increase your online presence. Check out our popup templates library and be inspired to bring new and creative ideas to your website.
Get started by creating your free Serviceform account!
Step 1. Create you Serviceform account
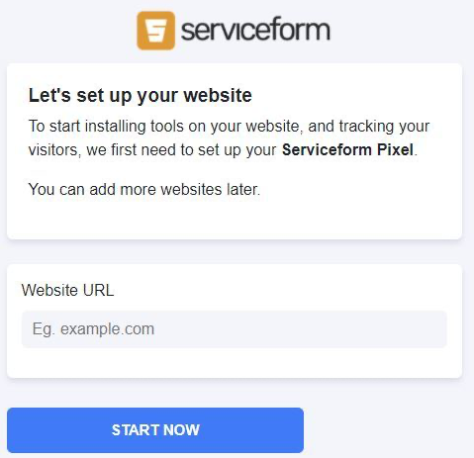
After you create your Serviceform account you can create your Serviceform pixel in the box bellow, to start, type your website URL and select "START NOW".
Step 2. How to install a free popup on WordPress
WordPress plugin
To use the WordPress Plugin for the installation, you'll need to have access to your WP account. On the WordPress Plugins menu, search for the Serviceform plugin.
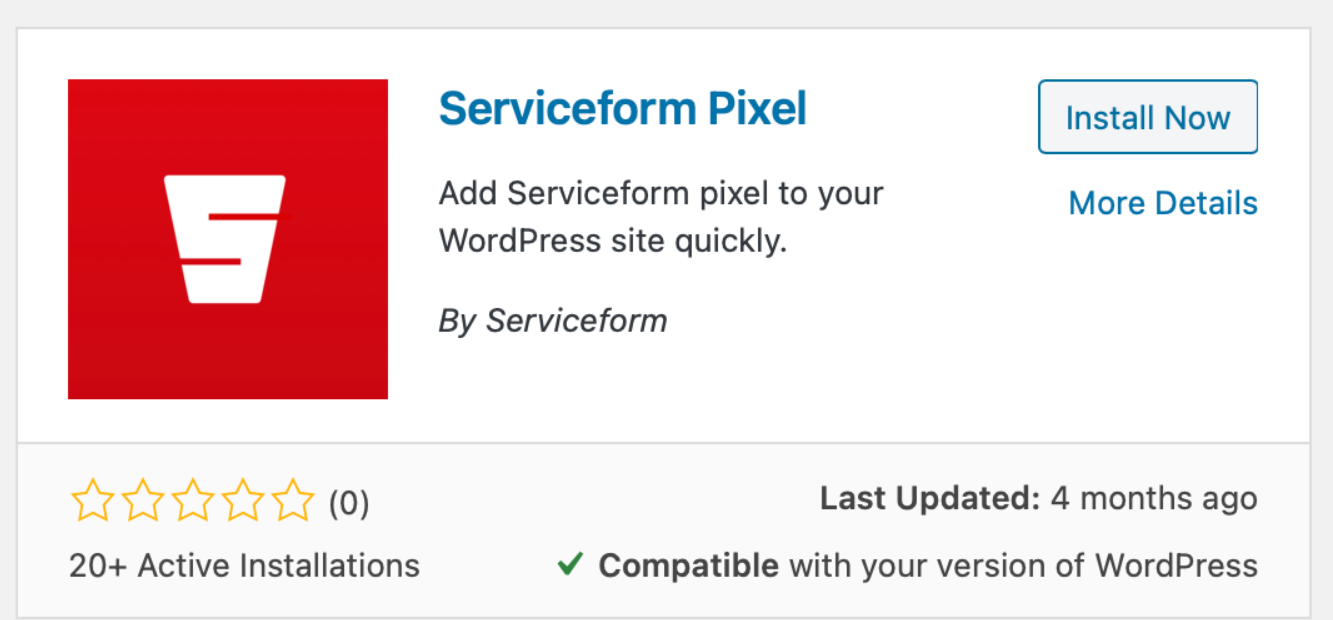
Install it and find your pixel ID from your Serviceform account. Then enter the pixel ID into the Serviceform pixel you’ve already installed.
Voila, now you can successfully install your Serviceform Popups onto your WordPress website.
Using HTML
If you’re a developer, or you can get the help of a developer, you can easily install a Serviceform Popup into WordPress using HTML.
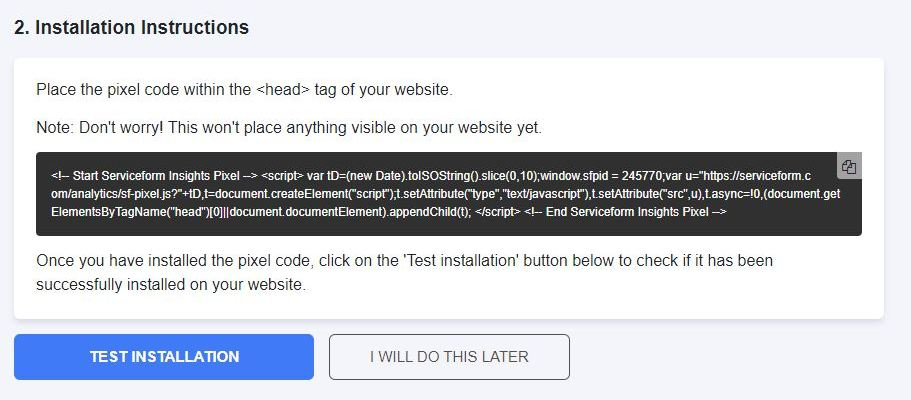
To use HTML, you need access to your website code and place the pixel code on the <head> tag. Once you have accessed the <head> tag, place the Serviceform pixel code into your <head> tag.
You can find the pixel code from your Serviceform account.
Using Google Tag Manager
If you don’t feel very comfortable with HTML or any other type of code, you can easily install the Serviceform pixel into your WordPress website using Google Tag Manager.
In your Serviceform, select the option to install the Serviceform pixel through Google Tag Manager. Then copy your pixel code.
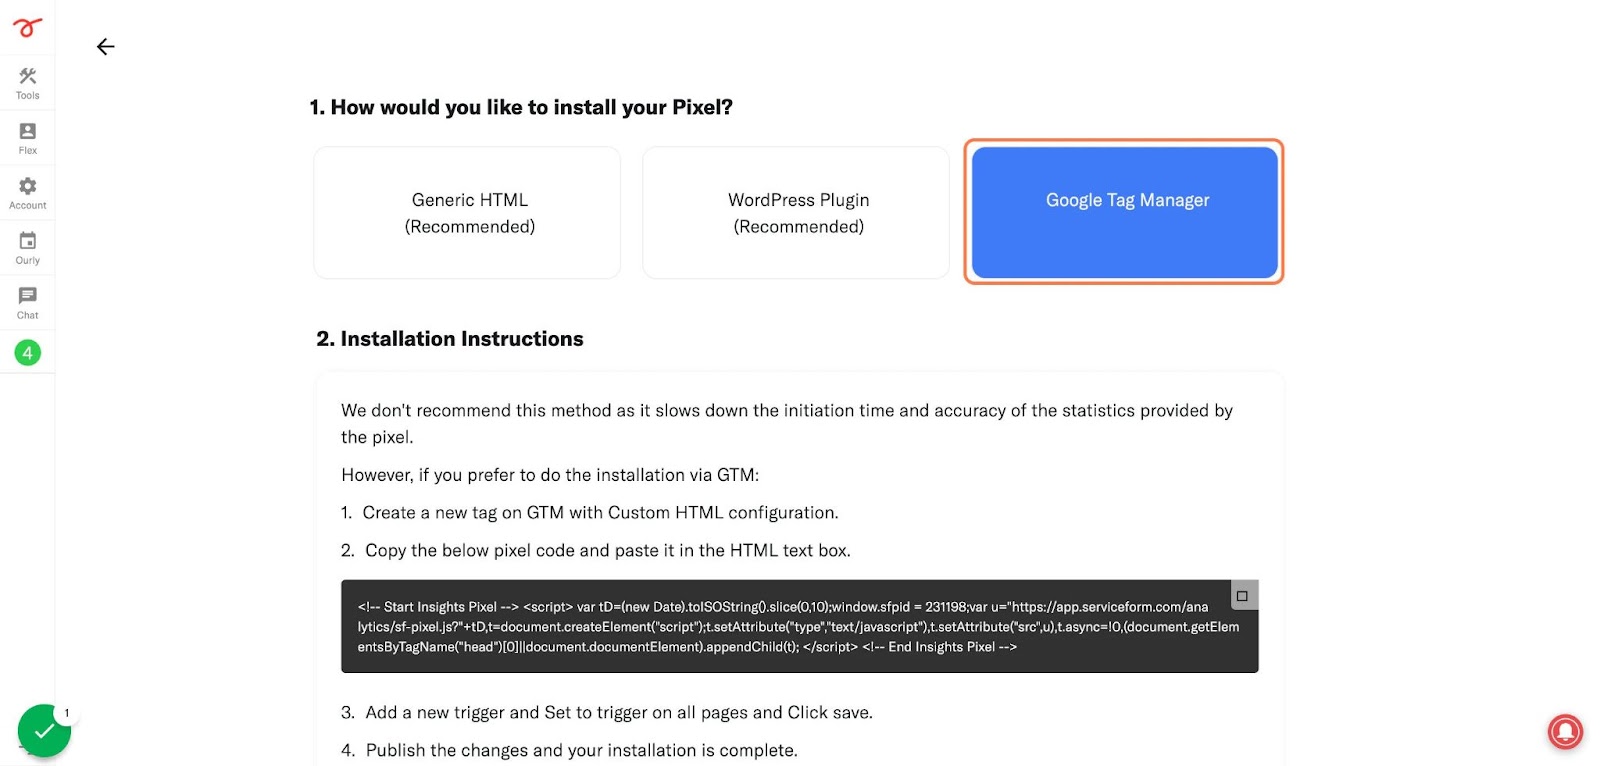
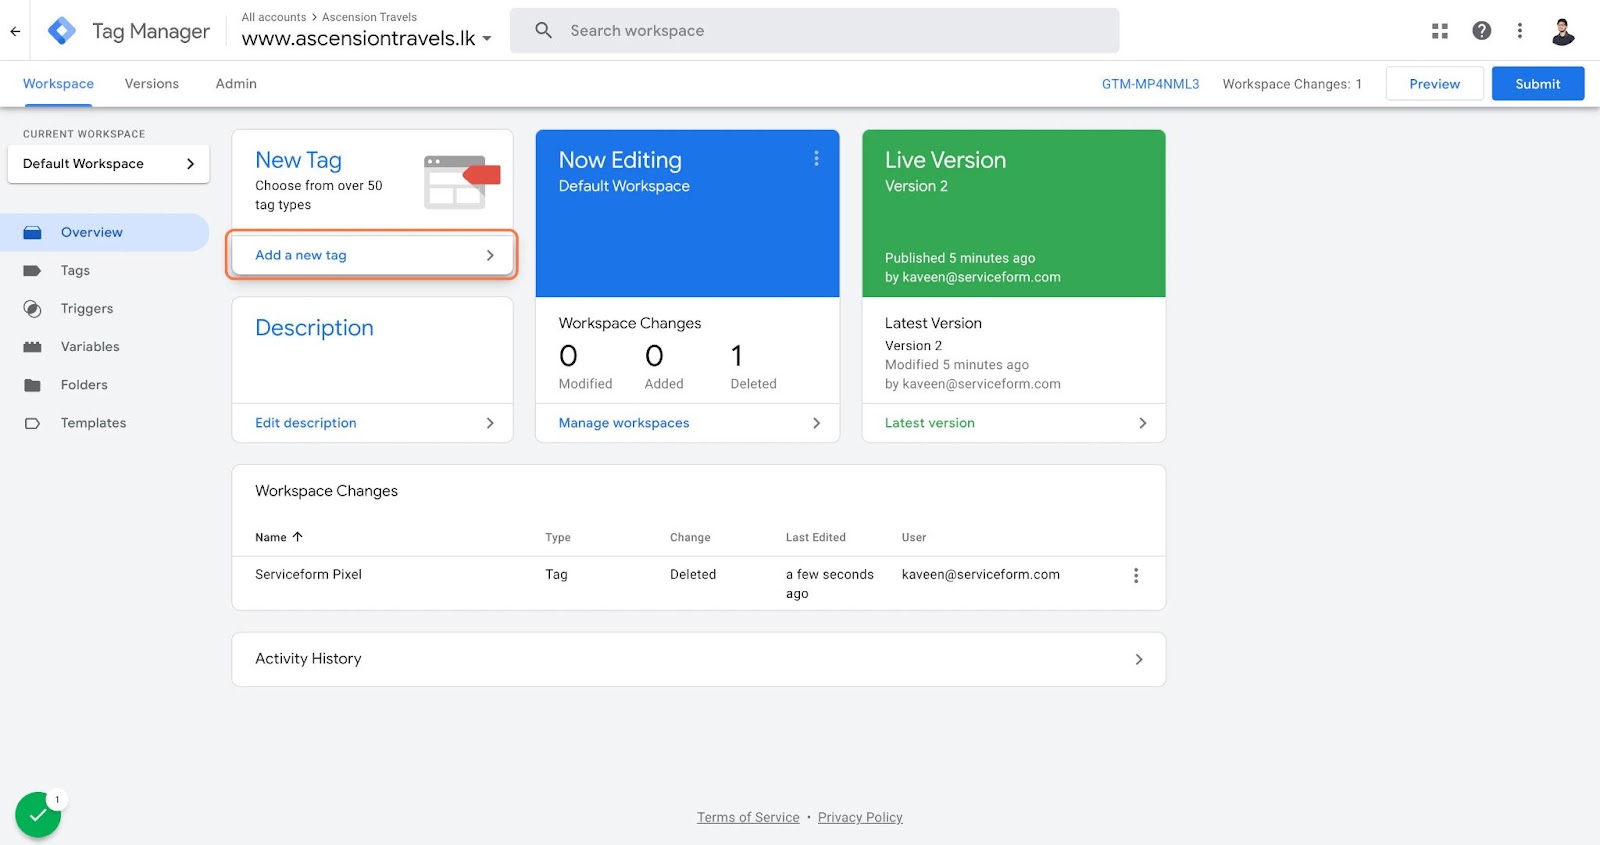
Afterwards, go to your Google Tag Manager account and click on add a new tag. Then name your tag.
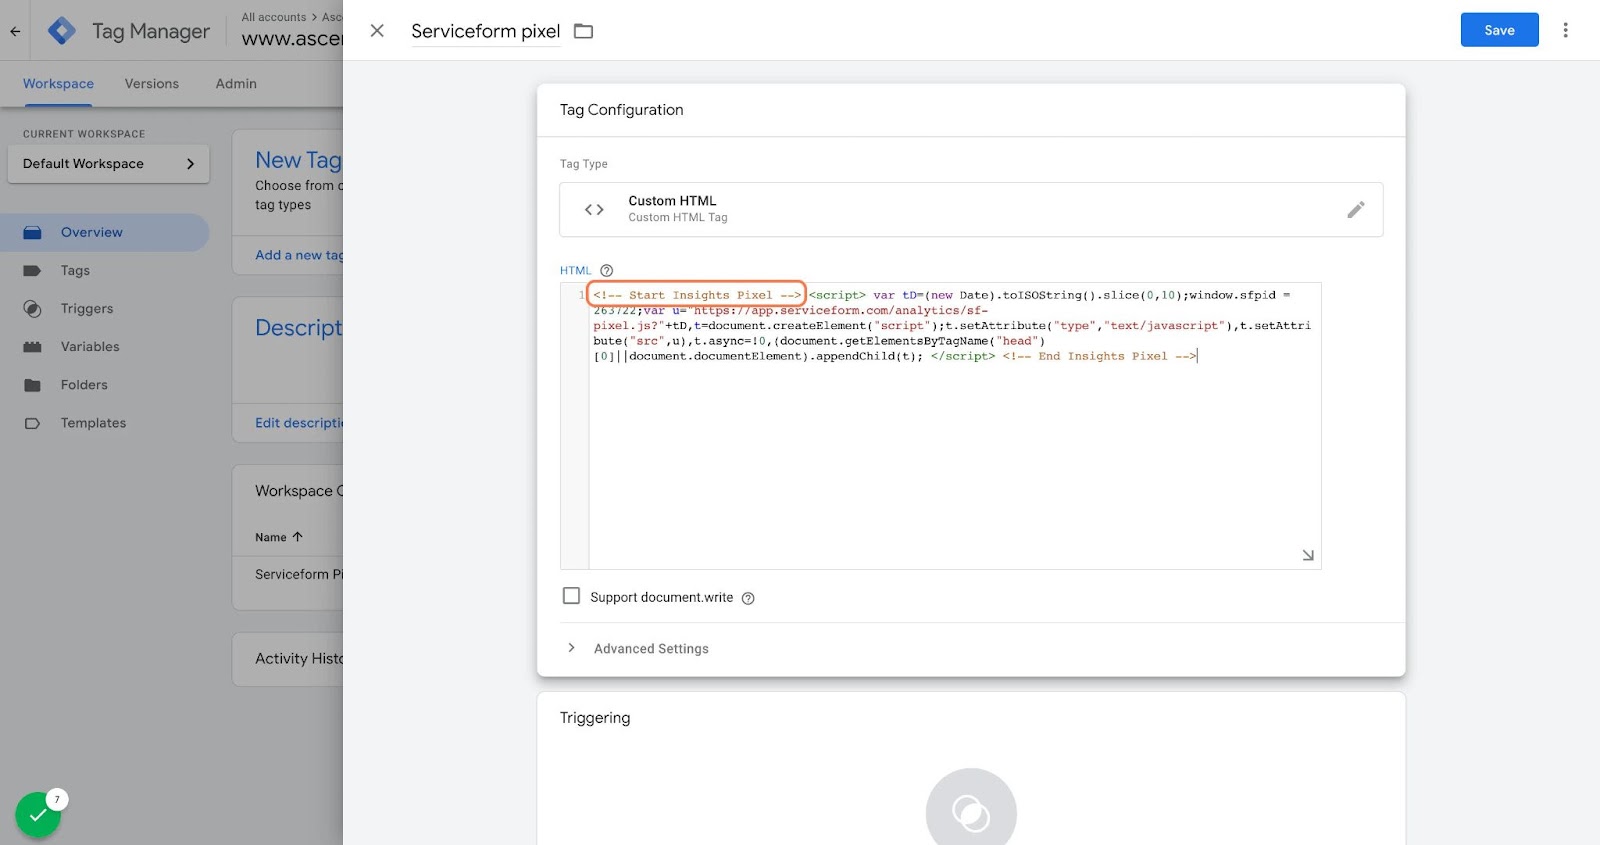
Once you’ve named your tag, click on tag configuration. Then go down the drop down and select custom HTML. Paste the Serviceform pixel that you copied previously into the code area.
Then click on ‘triggering’ and select ‘all pages.’ Then save your work and press submit. In the submission configuration screen, type ‘Adding Serviceform pixel’ into the ‘Version name’ area.
Congratulations! You can now successfully install your Serviceform Popups onto your WordPress website.
Step 3. Test if your Serviceform pixel is live
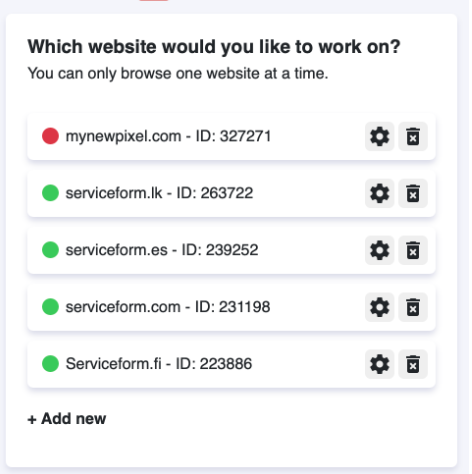
You can check if your pixel is active by looking at the top right corner of your dashboard. The green circle indicates that it's active, and the red circle below indicates that the pixel isn't active.


.png)


.png)


